How to Photograph a Painting or other Artwork
For when you can't have your artworks professionally-photographed, here are some tips for getting better results from your phone or digital camera.
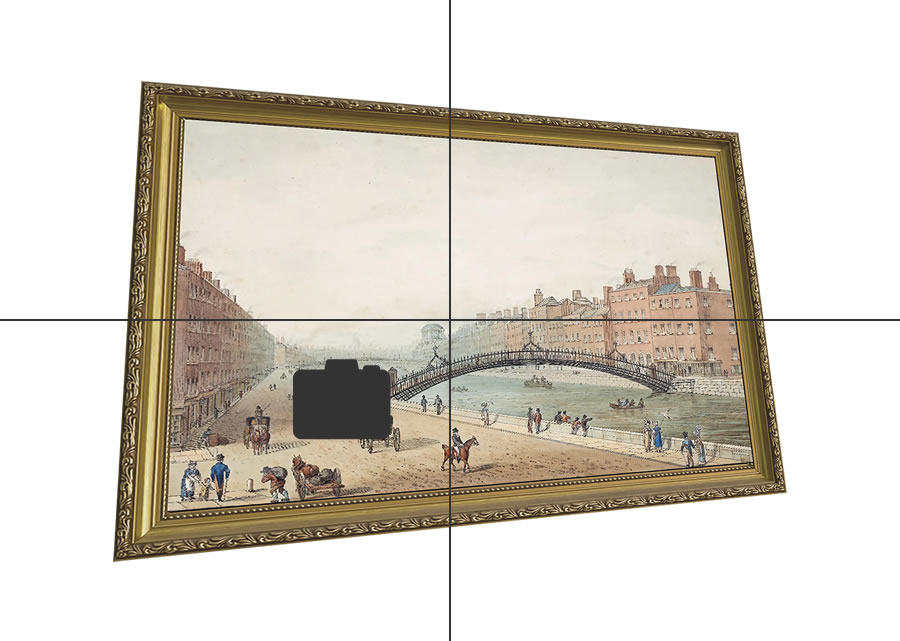
While some common issues - such as poor focus - can be easy to spot, others may go unnoticed yet be having a significant detrimental effect. Even if these imperfections seem minor, together they can be the difference between your images looking home-made and appearing professional.
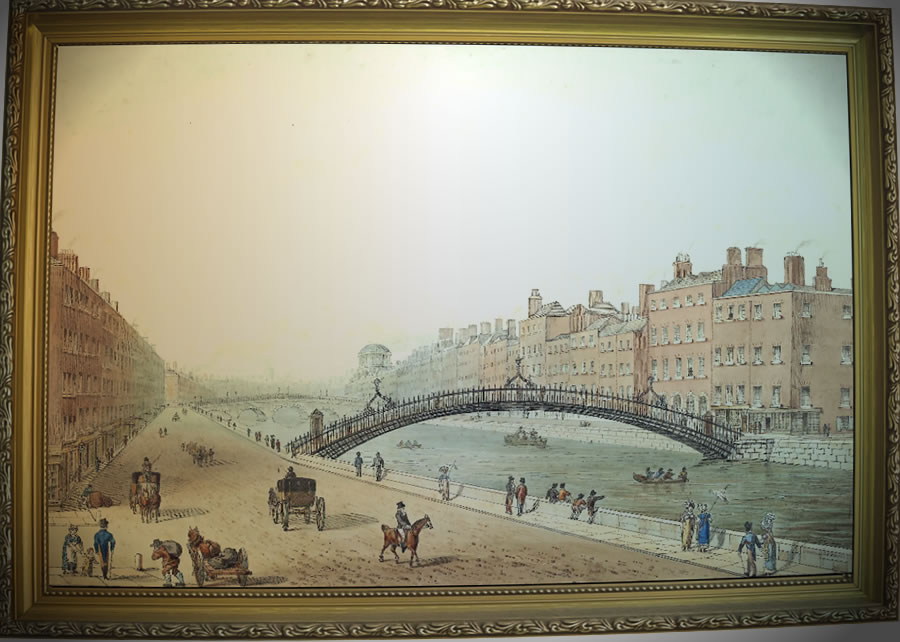
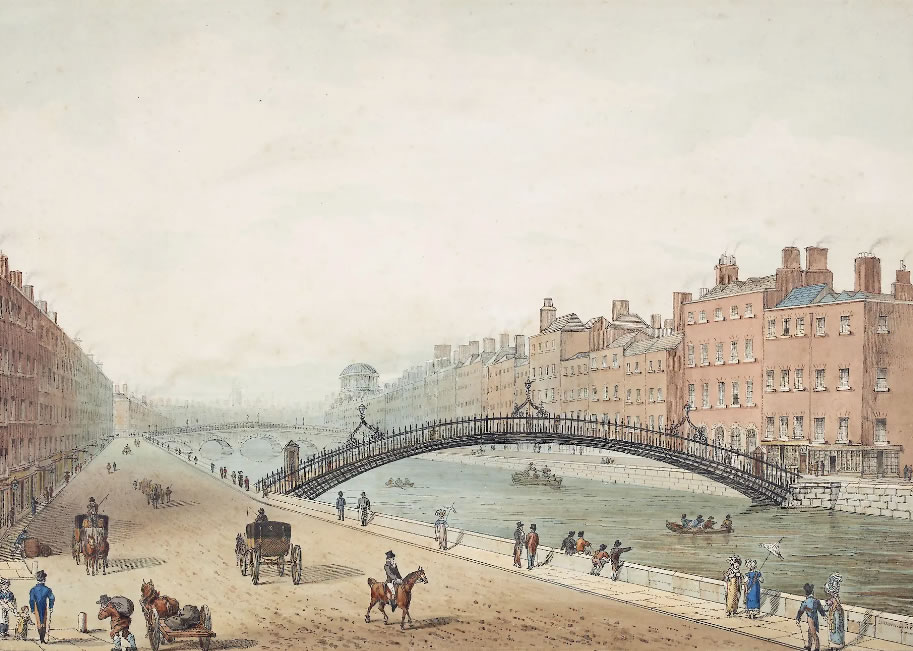
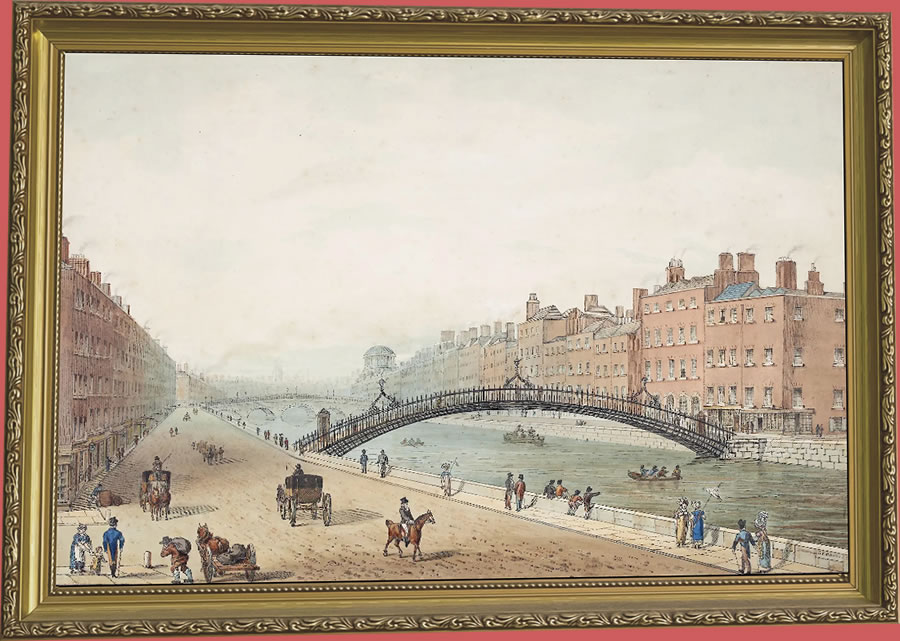
Avoid this
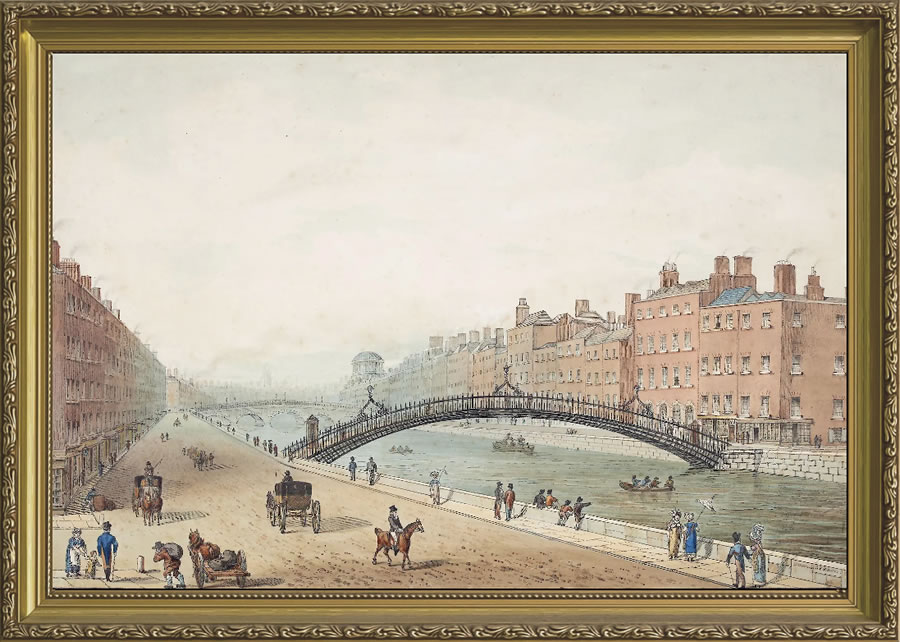
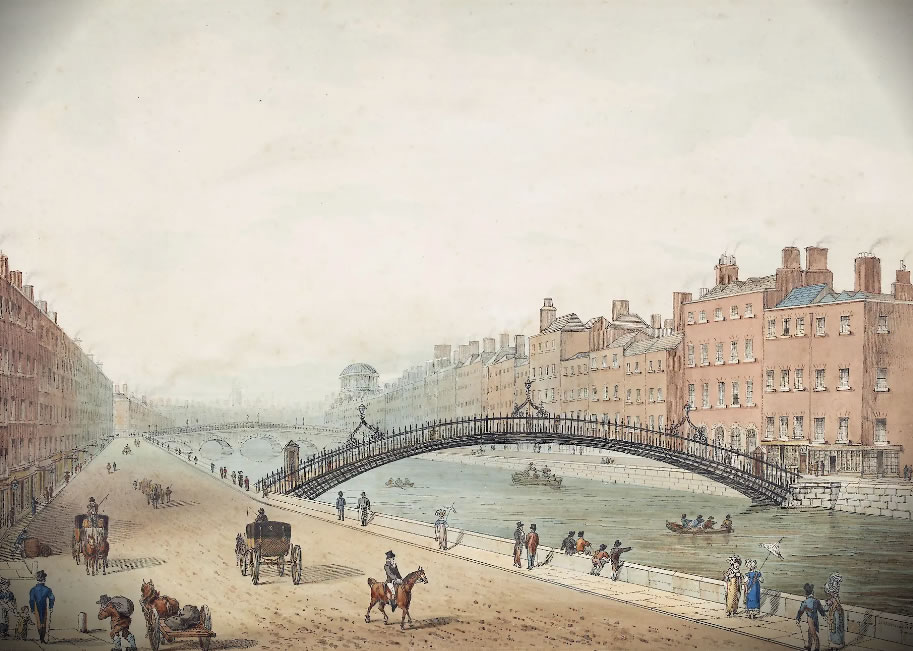
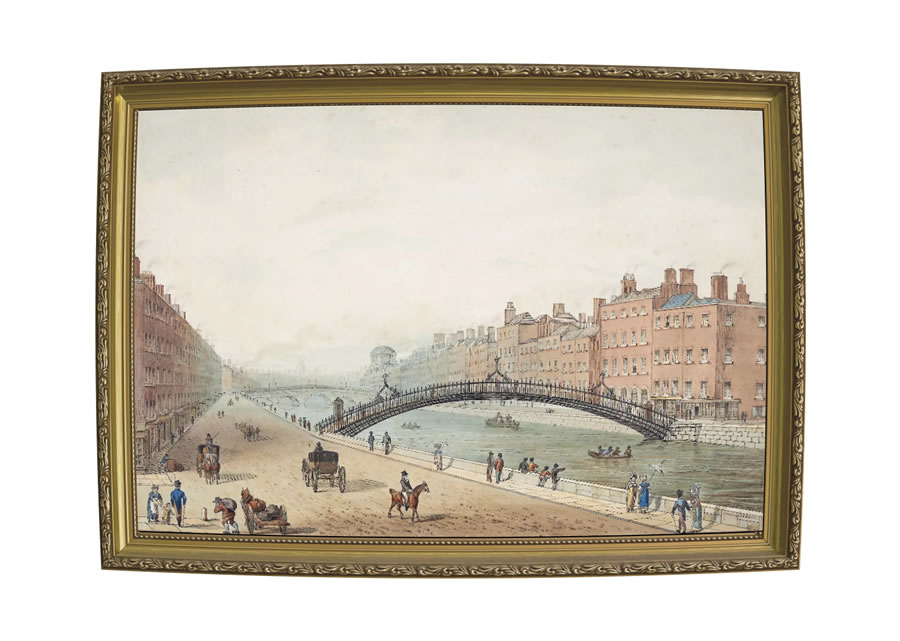
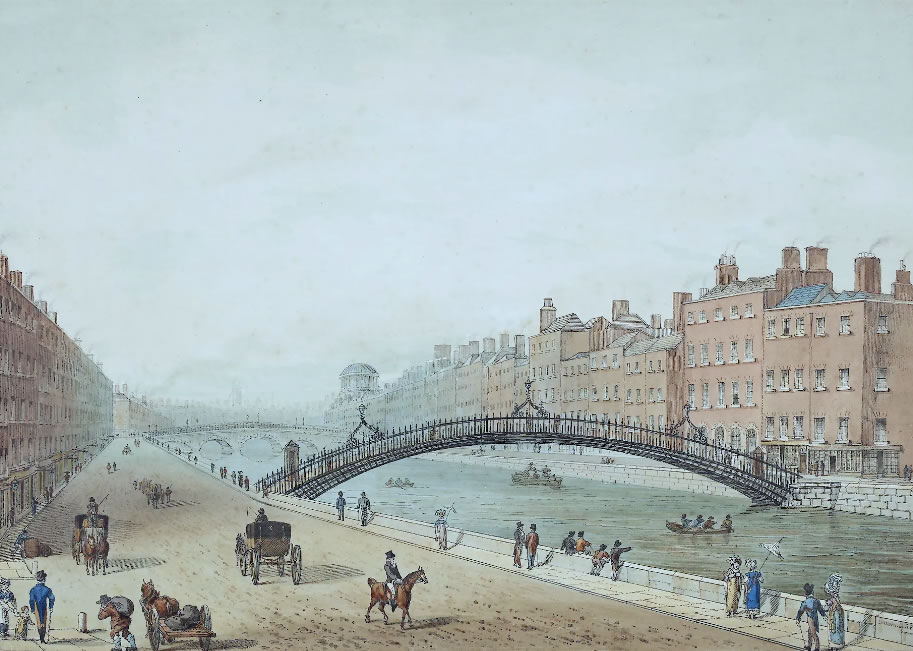
Aim for this
Note: For the most part, these tips assume a two-dimensional artwork is being photographed, such as a painting, drawing, or print.
Have some existing images that need improving? Have it done for you.